SSO Setup in Keycloak
ℹ️ Requires an Organization plan
In this guide explains how to setup another identity provider for Single Sign On via Keycloak.
-
Login with the keycloak admin account under SERVER_URL/auth/admin. You can find the password for the keycloak admin account in your
.envfile underKEYCLOAK_PASSWORDin your installation folder. -
Change the realm to the
anchorpointrealm on the top right whereKeycloakis selected by default.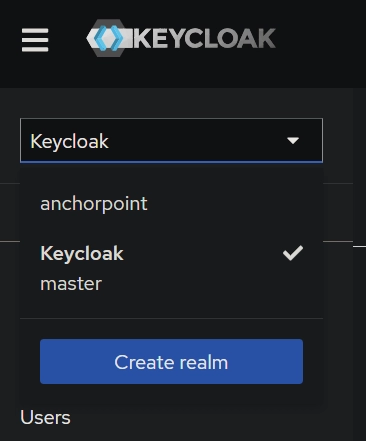
-
Setup your Identify Provider
- Click on
Identity providerson the right sidebar menu. - Setup your identity provider:
- Disable showing your identity provider as additional option on the login page
- Click on the identity provider
- Open
Advanced Settingsand scroll down toHide on login pageand enable it
- Click on
-
Create a new Authentication flow for user account linking
- Click on
Authenticationon the left sidebar - Click on
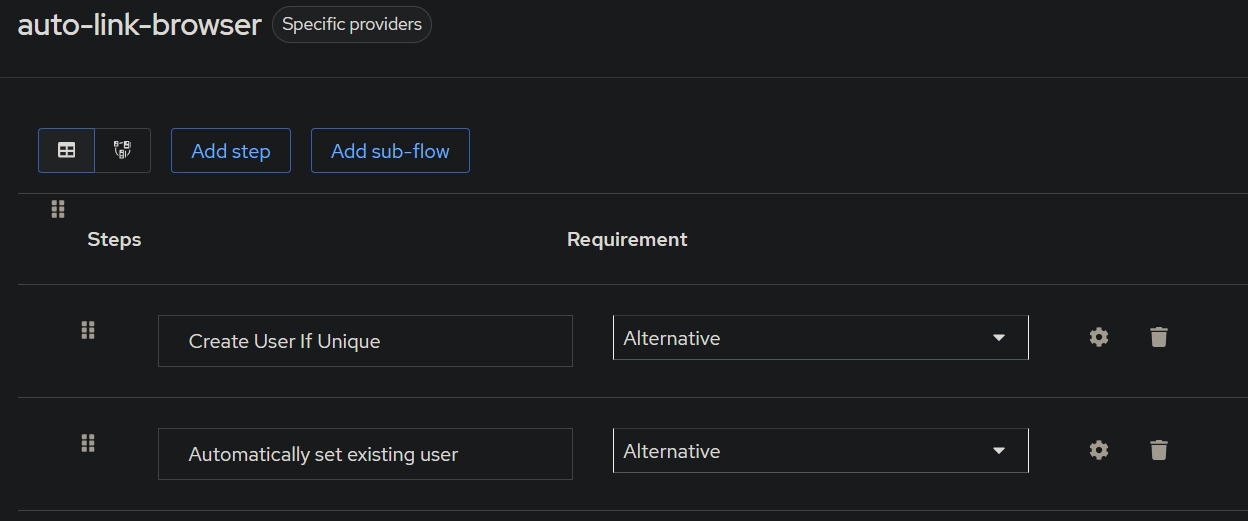
Create flow - Set the name to
auto-link-browserand the description tolink existing user accounts. Set theFlow typetoBasic flowand click onCreate - Click on
Add executionand chooseCreate User If Uniqueand clickAdd - Set the
Requirementof theCreate User If UniquetoAlternative - Click
Add Stepand chooseAutomatically set existing userand clickAdd - Set the
Requirementof theAutomatically set existing usertoAlternative - Open the created Identify Provider from step 3 and scroll down to set
First login flow overridetoauto-link-browserand presssave
- Click on
-
Create another new Authentication flow for the Anchorpoint client
- Click on
Authenticationon the left sidebar - Click on
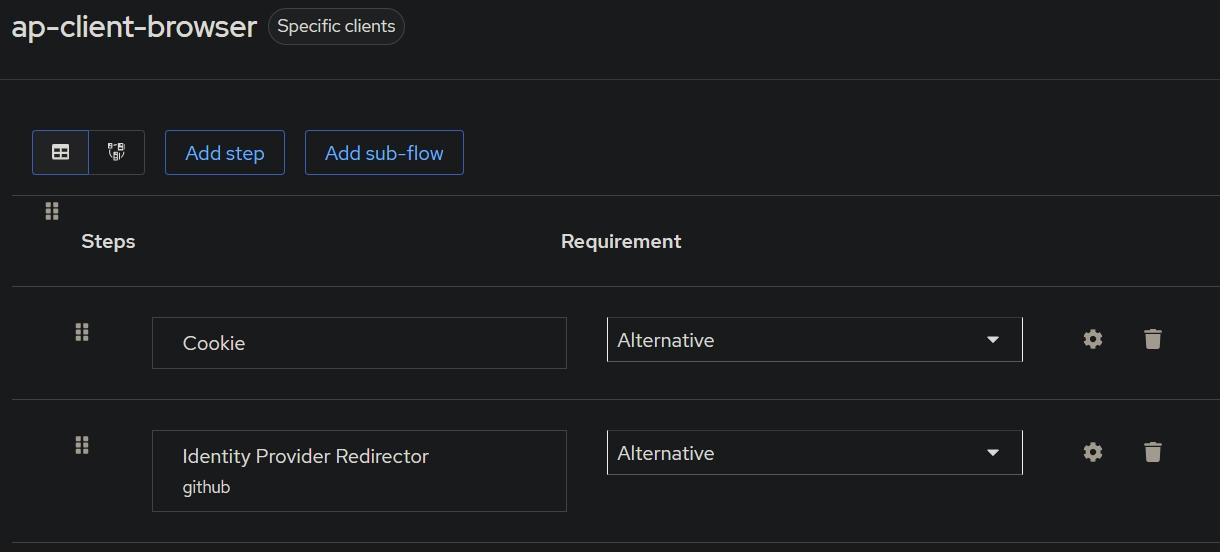
Create flow - Set the name to
ap-client-browserand the description toauth flow for Anchorpoint client browser login. Set theFlow typetoBasic flowand click onCreate - Click on
Add executionand chooseCookieand clickAdd - Set the
Requirementof theCookietoAlternative - Click
Add Stepand chooseIdentity Provider Redirectorand clickAdd - Set the
Requirementof theIdentity Provider RedirectortoAlternative - Click on the
Settingsicon of theIdentity Provider Redirectorand setAliasandDefault Identity Providerto the name of the identity provider you created in step 3 and clickSave
- Click on
-
Overwrite the Authentication flow of the anchorpoint-desktop-client
- Click on
Clientsin the right sidebar - Click on the
anchorpoint-desktop-client-...client to edit it - Click on the
Advancedtab - Scroll all the way down to
Authentication flow overridesand chooseap-client-browserforBrowser Flowand click onSave
- Click on
-
(Optional) enable two factor auth for the dashboard admin user in the Anchorpoint realm
- Setup one time password with this guide here in the Anchorpoint realm
- Add
Configure OTPin theRequired user actionsfor the admin user in the Anchorpoint realm
-
(Optional) enable two factor auth for the admin user in the Keycloak master realm
- Create a backup admin user in the Keycloak master realm (in case something is setup wrong so you do not loose access to the Keycloak master realm)
- Setup one time password with this guide here in the Keyckloak master realm
- Add
Configure OTPin theRequired user actionsfor the admin user in the Keycloak master realm